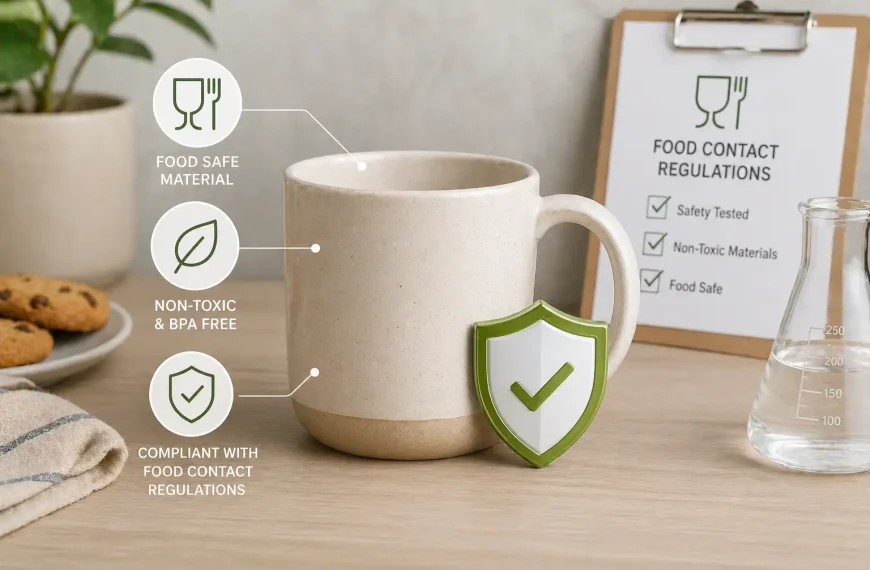
Mug care and cleaning is the functional maintenance that keeps a mug safe to drink from and stable over time, and it starts with the manufacturer’s care label: dishwasher-safe or hand-wash-only. A dishwasher “sanitizing” claim has specific performance targets, including a 150°F (66°C) final rinse and a 99.999% (5-log) bacterial reduction under NSF/ANSI 184 for certified residential units, so the label decides whether a mug can take that heat and detergent stress.
Material also changes the protocol: glazed ceramics and glass are cleaned for stain and mineral control, while stainless steel and travel mugs add mechanical risk points where lids, vents, and gaskets trap residue. Basic sanitation can be stronger than “just soap,” and public-health guidance for sanitizing containers includes using bleach in the 5%–9% sodium hypochlorite range at measured dilutions, which shows what “sanitizing” means as a distinct step from cleaning.
Taste problems often come from leftover detergent or film, and simple kitchen acids are measurable tools: distilled white vinegar is typically 5% acetic acid, which is why it is used for mineral deposits and rinse-neutralizing tasks. These maintenance protocols provide the practical defense for the user, acting as the operational partner to the regulatory standards detailed in Care & Safety.
Effective care covers a defined scope, from wash-after-use hygiene to periodic stain removal, deep cleaning of parts, and dry storage that protects taste, hygiene, and lifespan. NSF Centers for Disease Control and Prevention
What does “mug care & cleaning” include, and why does it matter for taste, hygiene, and lifespan?
Mug care and cleaning includes three pillars that work together: mechanical cleaning, chemical sanitation, and physical storage. Mechanical cleaning removes visible residue and the thin film that forms on surfaces after repeated use. Chemical sanitation reduces microbes when a mug has been left closed while damp, used for dairy, or carried for hours at warm temperatures. Physical storage keeps a cleaned mug from being re-contaminated or developing musty odours between uses. Reusable mugs should be washed after every use, because residue and moisture together let biofilm build up fast in seams, corners, and textured surfaces.
There are three reasons this matters:
- Taste control (stops old coffee oils, tea tannins, and detergent residues from changing flavour)
- Hygiene control (reduces microbial growth in damp, closed parts)
- Material protection (prevents stains, corrosion, glaze wear, and seal damage)
What do dishwasher-safe and hand-wash-only labels actually mean for mugs?
Dishwasher-safe means the manufacturer expects the mug to tolerate dishwasher heat, detergent chemistry, and spray force for repeated cycles, on the rack position they specify. Hand-wash-only means the mug has a component or finish that can degrade under dishwasher conditions, even if the base material looks tough.
There are three practical label checks that decide the method:
- Material and finish (printed art, matte coatings, metallic trim)
- Construction (vacuum insulation, glued bases like cork)
- Parts (lids, sliders, gaskets, filters)
For dishwashers specifically, a sanitizing cycle is defined in an objective way in the NSF/ANSI 184 framework: it targets a minimum 99.999% (5-log) bacterial reduction, and the standard calls for a final rinse temperature of 150°F (65.6°C) on that sanitizing cycle.
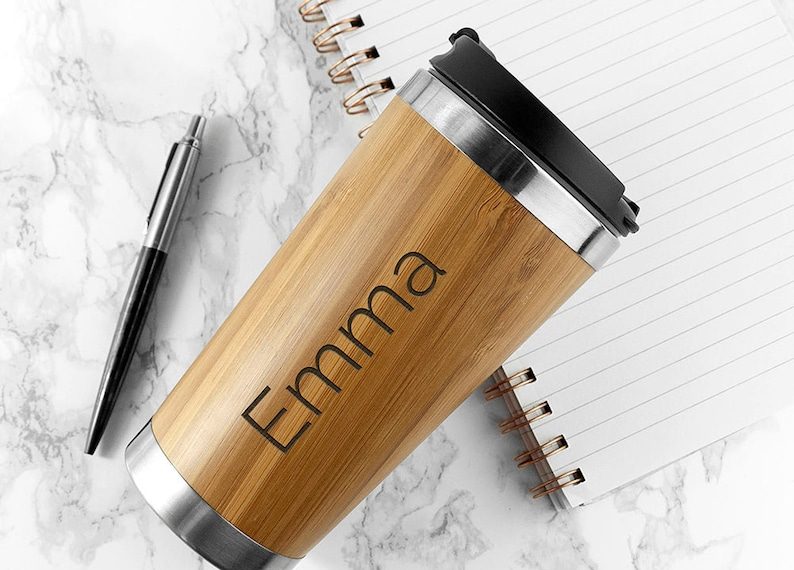
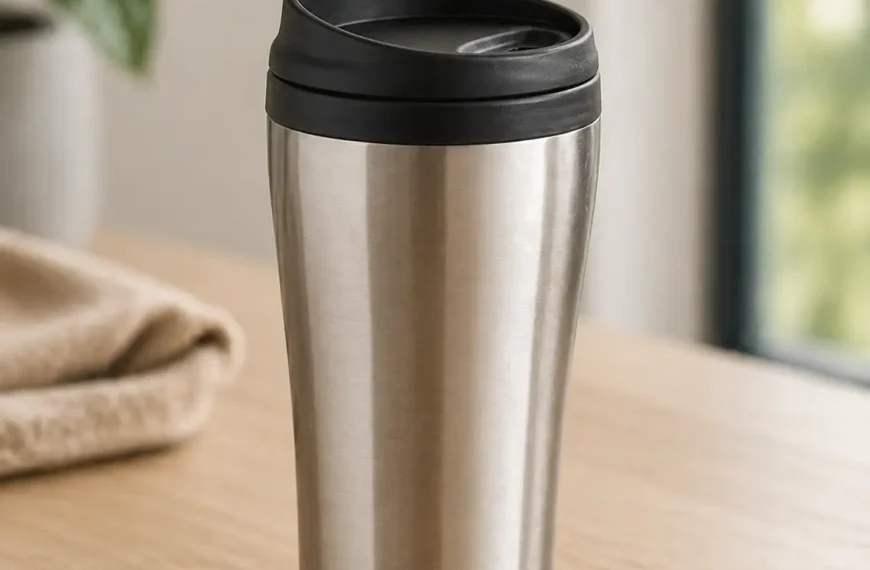
Stainless steel travel mugs often survive the wash, but heat and repeated cycles can still shorten the life of vacuum seals and lid gaskets, so the label and the lid design matter more than the metal. (NSF)
Why does my mug leave a weird taste in drinks or have a soapy residue?
A weird taste usually comes from one of two causes: surfactant residue from detergent that did not rinse away, or flavour compounds absorbed into porous or micro-scratched surfaces. Stainless steel can hold coffee oils in micro-scratches, and ceramics with worn or crazed glaze can trap residue in fine networks.
There are three fixes that address the root causes:
- Rinse strategy: rinse longer under running water until the “slick” feel disappears, especially around rims and handles.
- Neutralise residue: use a short soak with food vinegar, because common vinegars are at least 4% acetic acid and typically range up to 8% in common use.
- Reset the surface: use a soft scrub on the inside, then rinse thoroughly to stop any cleaner from carrying into the next drink.
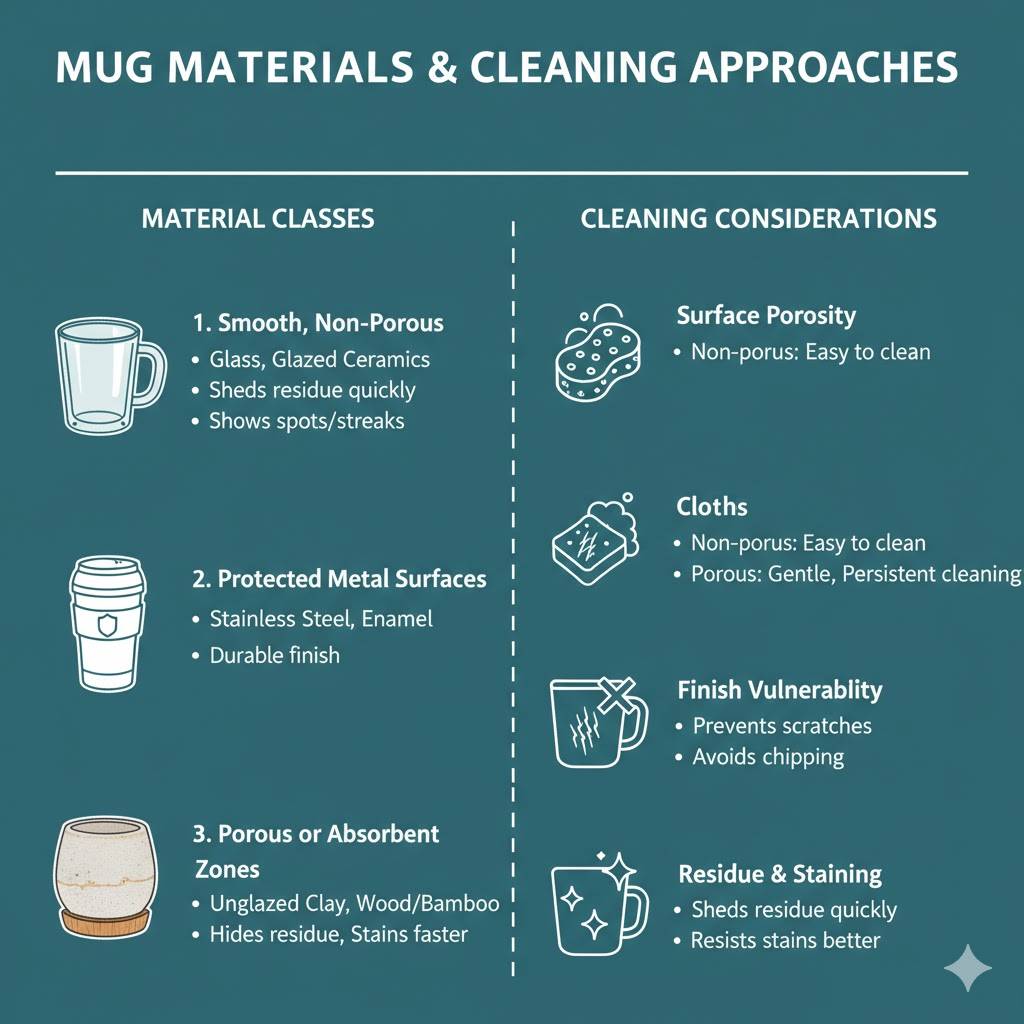
How do mug materials change the right cleaning approach?
The right approach depends on how porous the surface is and how easily the finish can be scratched or chipped. Non-porous, smooth materials shed residue quickly, but show spots and streaks. Porous or textured materials hide residue and stain faster, so they need gentler but more persistent cleaning.
Mug materials can be grouped into three practical cleaning classes:
- Smooth, non-porous (glass, many glazed ceramics)
- Protected metal surfaces (stainless steel, enamel coatings)
- Porous or absorbent zones (unglazed clay bottoms, wood or bamboo)
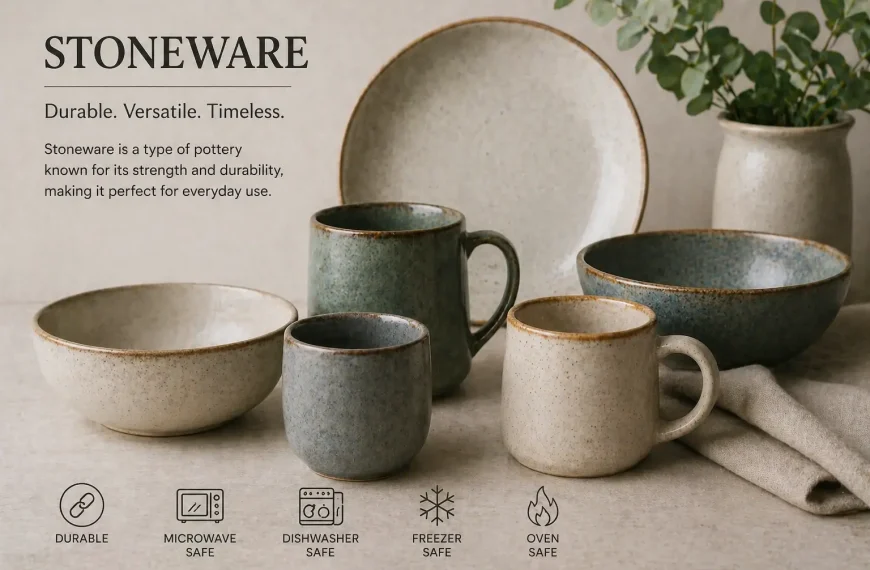
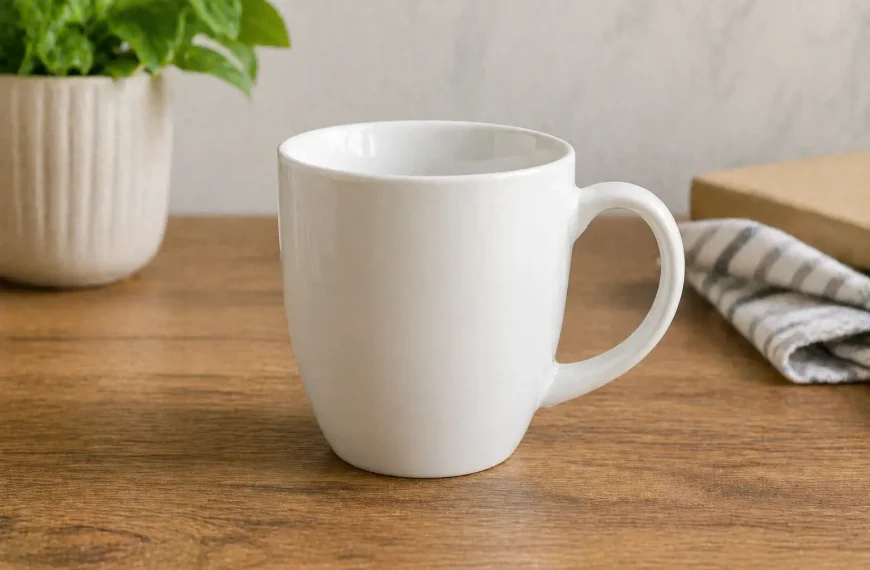
How should you clean ceramic, porcelain, and stoneware mugs to prevent stains?
Glazed ceramics (ceramic, porcelain, stoneware) should be cleaned with non-abrasive tools and enough contact time to lift stains without grinding at the glaze. Stoneware is often more stain-resistant, while porcelain can chip and show wear faster if knocked or stacked poorly.
There are three material-specific practices that reduce staining:
- Ceramic: clean daily, and use a gentle paste scrub for stains before they set.
- Porcelain: avoid abrasive powders and rough pads that dull the glaze and make future stains stick faster.
- Stoneware: focus on the inner base where tea and coffee pool, and avoid metal utensils scraping the interior.
Crazing matters because it creates fine pathways where residue can lodge and be hard to remove with surface cleaning alone. A mug with visible cracks in the glaze requires more careful cleaning and closer inspection after washing.
How do I clean an enamel mug without damaging the coating?
An enamel mug is glass fused onto metal, so the coating can chip if it is shocked, dropped, or scrubbed aggressively. Cleaning should prioritise soaking and soft wiping over force.
There are three rules that protect enamel:
- Avoid abrasive pads that can scratch the enamel and accelerate chipping.
- Avoid thermal shock by not taking it from cold to very hot water instantly.
- Use soak-first cleaning for stuck residue, then wipe with a soft sponge.
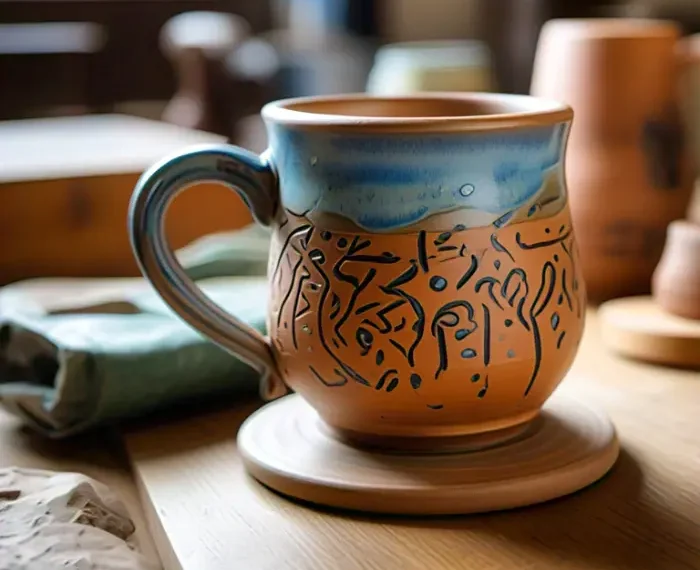
How do I clean a mug with a raw clay/unglazed bottom?
A raw clay or unglazed base absorbs water and odours, so it should not sit in dirty dishwater. Cleaning should keep the unglazed area as dry as possible.
There are three safe habits for unglazed bottoms:
- Wash the interior normally, but keep the base out of standing water.
- Rinse quickly and wipe the base dry immediately.
- Air-dry fully before putting it back on a shelf to prevent musty smells.
How do I clean glass mugs without leaving hard-water spots?
Hard-water spots are mineral deposits left behind when water evaporates on glass. Acid dissolves mineral scale better than scrubbing, so the solution is chemical contact time, then fast drying.
There are three steps that remove spots and prevent new ones:
- Acid wipe or short soak with vinegar, using the fact that vinegar is an acetic-acid solution and is commonly 4–8% acetic acid in food use.
- Rinse thoroughly to remove dissolved minerals.
- Dry immediately with a clean microfiber cloth to stop evaporation marks.
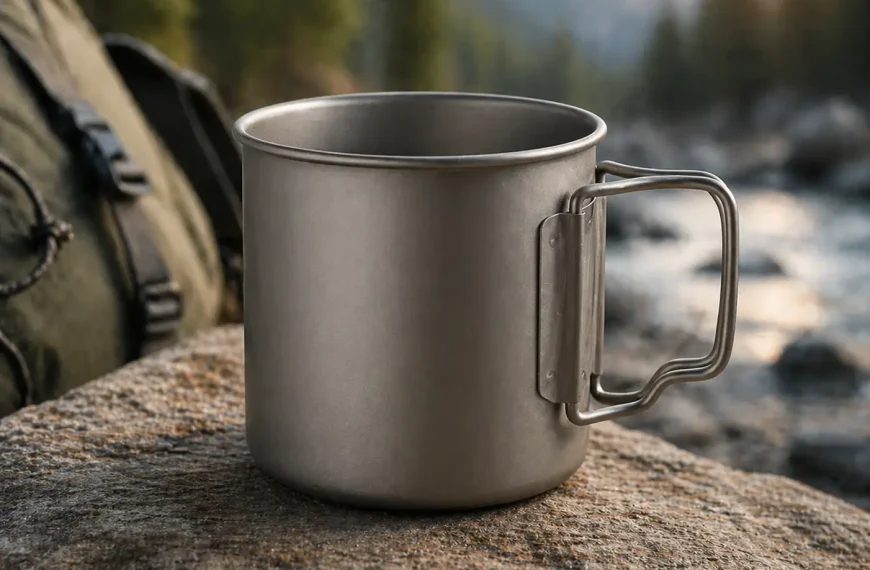
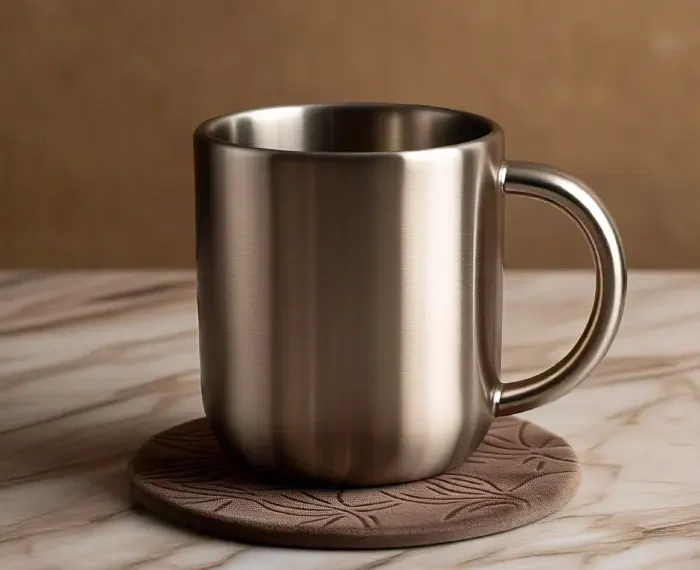
How should you clean a stainless steel mug to avoid smells and corrosion?
Stainless steel should be cleaned with mild agents that remove oils without damaging the protective surface layer. Smells usually come from residue trapped in micro-scratches or in the lid assembly, not from the steel itself.
There are three stainless-steel rules that prevent corrosion and odours:
- Avoid bleach-based cleaners on the mug body and especially on any exposed seams. (British Stainless Steel Association)
- Use a non-abrasive brush to reach corners without scouring the surface.
- Dry fully so moisture is not trapped under a lid or around threads.
How do I clean a pewter mug without damaging it and how do I restore its shine?
A pewter mug should be hand-washed with mild soap because the metal is soft and scratches easily. Restoring shine is about polishing gently, not grinding.
There are three safe pewter practices:
- Hand-wash only using mild dish soap and a soft cloth.
- Rinse and dry immediately to prevent dulling from water sitting on the surface.
- Use gentle polishing suited to pewter, avoiding harsh abrasives that permanently mark it.
How do I clean a Moscow Mule mug and remove tarnish from the copper?
Copper tarnish is a surface reaction that can be lifted with mild acids and gentle abrasion. The cleaning method depends on whether the mug is lined; lined mugs are cleaned like the lining material, while unlined copper needs more caution because the copper surface is directly exposed.
There are three practical steps for tarnish removal and control:
- Use a mild acid plus gentle abrasion (common kitchen acids are used for this purpose).
- Rinse thoroughly so no cleaning compound remains.
- Dry completely to slow new tarnish formation.
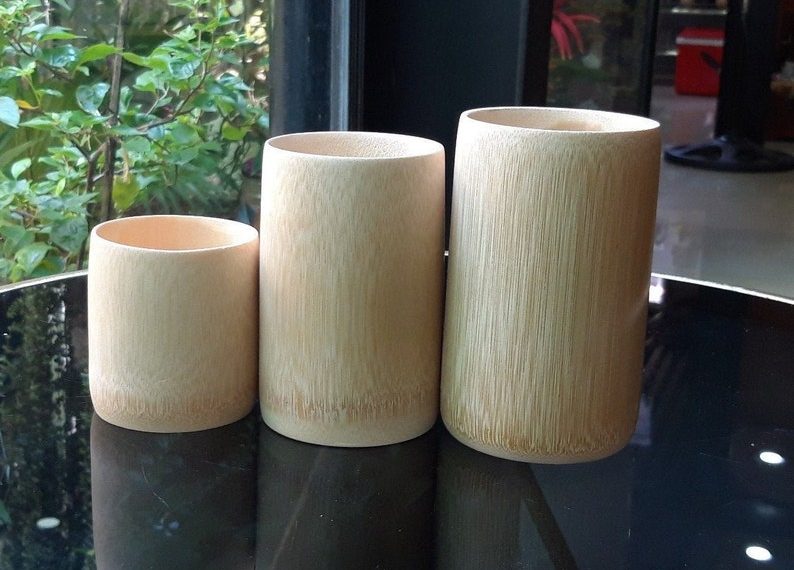
How do I clean bamboo or wooden mugs without warping them?
Wood and bamboo should be cleaned fast and dried immediately because soaking causes swelling, warping, and cracking. The interior must be kept clean without letting water penetrate deeply.
There are three non-negotiable rules for wood and bamboo:
- No soaking.
- Hand-wash quickly with mild soap and warm water.
- Dry immediately and fully, then store with airflow.
How do I wash a mug with a cork bottom without ruining the cork?
Cork is moisture-sensitive, so the cork area should be spot-cleaned rather than soaked. The interior can be washed normally if the cork stays dry.
There are three steps that protect cork:
- Wash the interior carefully while keeping the bottom out of standing water.
- Spot-clean the cork with a damp cloth, not a soak.
- Dry the cork immediately before storage.
How do you remove stubborn stains and residue buildup from mugs?
Stubborn stains are driven by tannins, coffee oils, and surface texture, and the best approach separates “lifting” from “scrubbing.” Lifting uses chemistry to loosen what is stuck, while scrubbing uses controlled abrasion to remove what is softened.
There are two decision points before you start:
- What is the stain type (oil-based coffee residue, tannin staining, mineral scale, lipstick waxes)
- What is the surface type (glossy glaze, matte finish, metal, glass, porous zones)
How do I clean coffee stains out of a mug and remove coffee oil buildup?
Coffee oil buildup is best treated with a mild abrasive that also helps lift greasy residue. Stainless steel travel mugs are the most common place this builds up because oils cling to micro-scratches and lid parts.
There are three steps for oil-focused cleaning:
- Wash with hot water and dish soap to remove loose residue first.
- Use a baking soda paste scrub for the inside where oils cling.
- Rinse thoroughly so no cleaner remains to affect taste.
How do I remove tea stains from a mug and what is the safest method for tannins?
Tea stains are largely driven by tannins that bind to surfaces and darken with time. The safest method is the one that lifts the stain with minimal abrasion so the surface does not become more stain-prone.
There are two low-scratch approaches:
- Oxygen-based stain lifting (often used for beverage stains without heavy scrubbing)
- Soak-based loosening (contact time, then gentle wipe)
Does baking soda actually remove mug stains and how do I use a baking soda scrub?
Baking soda removes many mug stains because it is mildly abrasive and helps lift residue during scrubbing. PubChem reports a pH of 8.3 for a freshly prepared 0.1 molar aqueous solution, which fits its role as a gentle alkaline cleaner. (PubChem)
There are three steps for a controlled baking soda scrub:
- Make a paste thick enough to cling to the stain.
- Scrub with a soft sponge or cloth, focusing on the stained zone.
- Rinse thoroughly until there is no powdery feel left.
Does vinegar remove coffee/tea stains and when is a vinegar soak effective?
Vinegar is most effective on mineral deposits and odours, and less effective on deep pigment staining from coffee and tea. It works because it is acetic acid in water, and in common food use vinegar is typically 4–8% acetic acid, with the FDA minimum at 4%. (The Nutrition Source)
There are two times a vinegar soak makes sense:
- Hard-water scale on glass or steel
- Odour reset after a mug sat closed while damp
What’s the best way to whiten a stained ceramic mug?
Whitening a ceramic mug works best when the method lifts stain without wearing the glaze. The safest approach is soak-first, then gentle wipe, because aggressive abrasion roughens glaze and makes the next stain stick faster.
There are three practical options, in increasing aggressiveness:
- Soak and wipe for fresh stains
- Gentle paste scrub for set stains
- Targeted spot cleaning for stubborn patches, stopping as soon as the stain lifts
How do I remove burnt-on residue or lipstick stains?
Lipstick stains are waxy and oil-based, so they respond best to strong dish soap contact time and gentle wiping. Burnt-on residue responds best to heat and soak time, because it softens what is baked onto the surface.
There are two separate methods, depending on the stain:
- Lipstick: apply concentrated dish soap, let it sit, then wipe and rinse.
- Burnt residue: soften with very hot water contact time, then wipe with a non-scratch sponge.
How do I prevent coffee and tea stains from building up in mugs?
Stain prevention is mainly about time and surface choice. The longer coffee and tea sit, the more staining compounds bind to the surface, especially on rougher interiors.
There are three prevention rules that work consistently:
- Immediate rinse after use
- No sitting overnight with residue inside
- Prefer smooth, well-glazed interiors if the mug is used for multiple cups daily
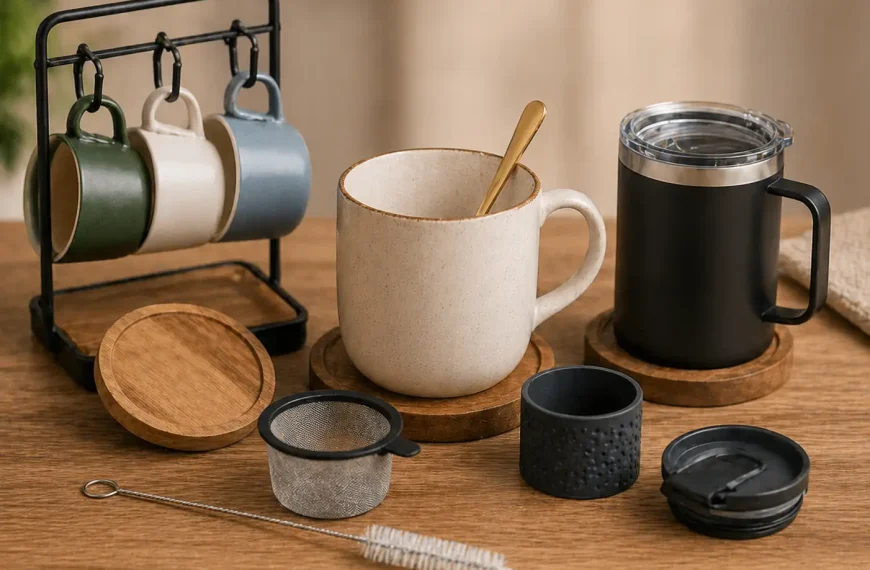
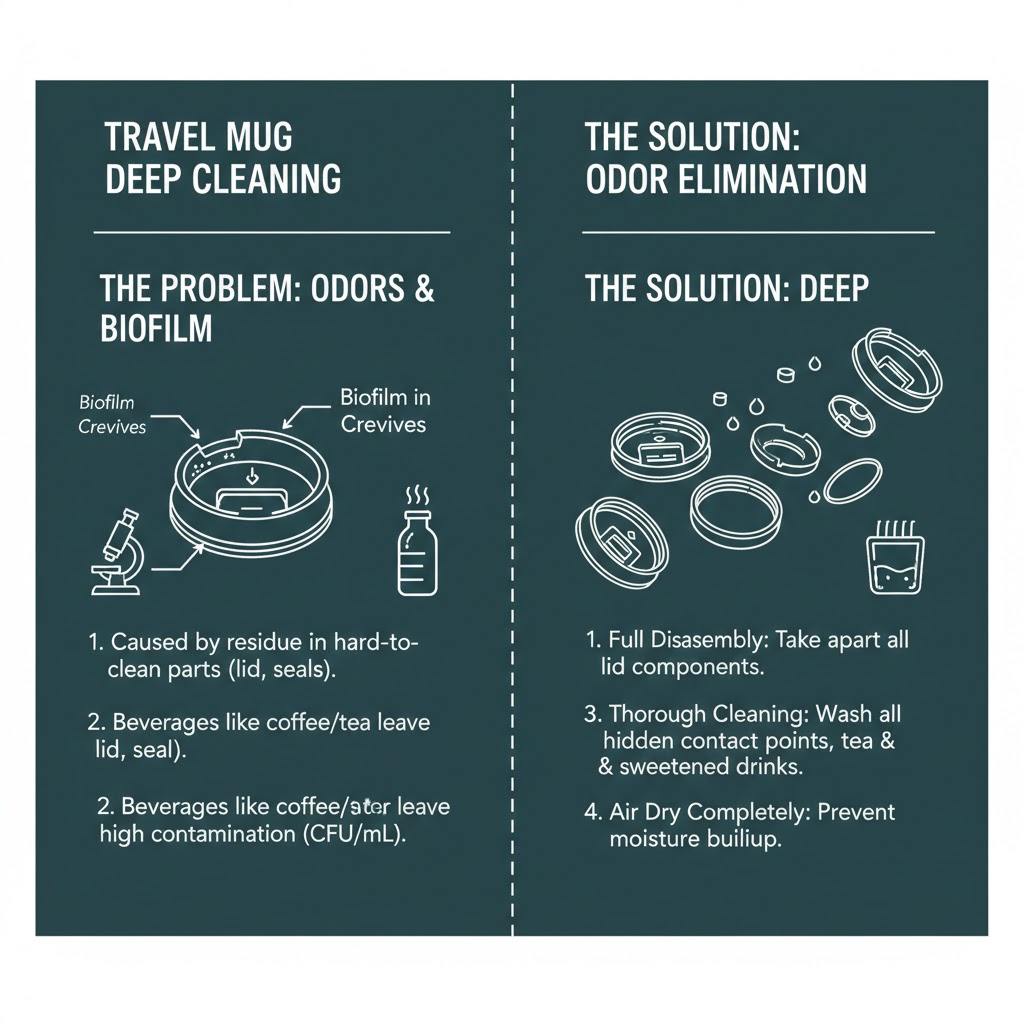
How do you eliminate odors and deep clean travel mug parts?
Odour problems in travel mugs are usually caused by biofilm in crevices, not by the main cup surface. Deep cleaning works only when the lid, seals, and any moving parts are disassembled so cleaning reaches hidden contact points.
A Food Protection Trends study on reusable bottles measured contamination in used containers and shows why beverage residue and “closed, hard-to-clean” designs need extra attention: bottles used for beverages such as coffee or tea had a mean heterotrophic plate count of 5.54 × 10⁵ CFU/mL, compared with 7.07 × 10³ CFU/mL for bottles used only for water.
That gap supports the same core rule for travel mugs: anything that holds coffee, tea, or sweetened drinks needs full disassembly cleaning, not a quick rinse.
How do I deep clean a travel mug lid and prevent mold from forming?
A travel mug lid should be deep cleaned by soaking, brushing small channels, and fully drying it open. Mold prevention depends more on drying and airflow than on harsh chemicals.
There are three steps that prevent mould in lids:
- Soak in hot, soapy water so residue loosens in channels and valves.
- Brush the mechanism using a detail brush sized for vents and crevices.
- Dry the lid open so trapped moisture cannot persist in enclosed spaces.
How do I clean under the rubber gasket and should I remove the seal?
The gasket should be removed periodically because residue collects under the seal where normal washing does not reach. Removing it allows full contact with soap and water on the hidden surfaces, then complete drying of both the gasket and the groove.
There are three safe steps for gasket cleaning:
- Remove the gasket using a dull, non-cutting tool so the seal is not torn.
- Wash and rinse the gasket separately, then wash the groove it sits in.
- Dry both parts fully before reassembly to avoid trapping moisture.
How do I clean a sliding drink lid, a straw lid, and the mouthpiece?
A sliding lid, straw lid, and mouthpiece must be cleaned as small parts, not as a single surface. Mouth-contact areas build up residue where drinks dry and re-wet, so they need direct brushing.
There are three part-specific methods:
- Sliders: remove the slider if the design allows it, then brush the track.
- Straws: clean with a straw brush so the full inner wall is scrubbed.
- Mouthpieces and spouts: brush the lip-contact surfaces and rinse thoroughly.
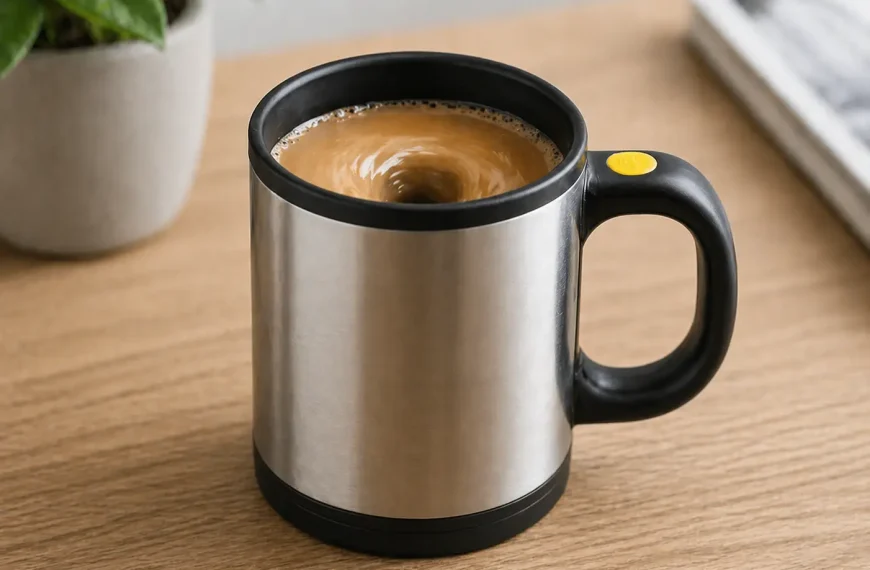
How do I clean a self-stirring mug without damaging the mechanics?
A self-stirring mug should not be fully immersed because the motor and battery compartment are not designed for soaking. Cleaning should focus on the interior and the removable stirring base if the design allows it.
There are three safety rules for self-stirring mugs:
- Wash the interior only, keeping the base electronics dry.
- Avoid flooding the battery compartment, and dry immediately if it gets damp.
- Dry thoroughly before reassembly so moisture does not sit near seals and switches.
Which cleaning tools and agents work best without damaging the surface?
Tool choice controls surface wear, which directly controls how fast a mug starts retaining stains and odours. The best setup uses soft tools for daily cleaning and targeted brushes for tight spaces.
Cleaning tools fall into three “aggressiveness” tiers:
- Non-scratch (microfiber cloth, soft sponge)
- Targeted scrub (soft bottle brush, detail brush)
- High-risk (steel wool, rough abrasive pads, harsh powders)
What brush is best for cleaning a travel mug lid and narrow-mouth mugs?
A long-handled bottle brush is best for narrow-mouth mugs because it reaches the base without scraping knuckles against the rim. A small detail brush is best for lids because vents, sliders, and threads need a thin, firm tip.
There are two brush types that cover most designs:
- Bottle brush for the cup interior and corners
- Detail brush for lid channels, vents, and seals
When should you use a sponge vs a microfiber cloth for glossy finishes?
A sponge is best for lifting daily residue, while microfiber is best for final drying and polishing. Microfiber reduces streaks and spotting on glossy glass and glossy glaze.
There are two clean roles:
- Sponge for washing
- Microfiber for drying and finish control
What cleaners should I avoid on stainless steel mugs and can I use bleach?
Bleach should not be used on stainless steel mugs because it can damage stainless surfaces and lead to pitting and rust-like spots. The safer approach is mild soap, thorough rinsing, and full drying.
There are two high-risk items to avoid on stainless steel:
- Bleach-based cleaners
- Steel wool and aggressive abrasives (they scratch and make residue cling)
How do I remove a sticker or adhesive residue from a new mug?
Sticker residue is best removed with oil-based dissolving followed by soap washing. Heat helps release paper and glue so less scraping is needed.
There are two controlled methods:
- Oil-based lift (cooking oil, then wash with dish soap)
- Heat-assisted release (warm the sticker, peel, then wash)
How do I remove metal marks or scuffs from a ceramic mug?
Metal marks on ceramic are often metal deposits from spoons, not damage to the ceramic itself. They can usually be lifted with a cleaner designed for metal deposits without aggressive scratching.
There are two safe steps:
- Use a deposit-lifting cleaner suitable for ceramic finishes.
- Rinse thoroughly so no cleaner film remains.
How should you dry and store mugs to prevent damage and bacteria?
Drying and storage decide whether a mug stays clean after washing. A mug that looks clean can still develop odours if it is stored while damp, especially with a lid on.
There are three storage rules that prevent problems:
- Dry-before-store
- Ventilation for lidded mugs
- Chip-safe stacking habits
Why does drying matter for mold prevention and when is air drying better?
Drying matters because trapped moisture supports microbial growth in enclosed spaces. Air drying is often better for hygiene because it avoids reintroducing lint or residue from a towel that may not be fully clean.
There are two drying methods with different strengths:
- Air drying for hygiene and low re-contamination risk
- Towel drying for speed, using a clean, dry towel only
How do I store a travel mug to prevent mold and stale odors?
A travel mug should be stored with the lid off or stored open so air circulates. Closed storage traps humidity inside, which supports musty odours and mould.
There are two simple storage choices that work:
- Store the mug body fully dry
- Store the lid off or open so both parts ventilate
When is stacking mugs safe and what practices prevent chips and cracks?
Stacking is safe only when the rims are not taking stress and the glaze is not being rubbed by grit. Rims chip easily when mugs knock together or when weight is concentrated on a thin edge.
There are three stacking practices that reduce damage:
- Avoid rim-to-rim pressure on thin porcelain and handmade mugs.
- Use a soft separator if mugs must be stacked.
- Do not stack damaged mugs with chips or cracks, because stress concentrates at weak points.
Why should you consider storing lids separately?
Storing lids separately prevents seal compression and keeps air moving through both lid and mug. Seal compression shortens gasket life and increases the chance of leaks.
There are two practical benefits:
- Less seal deformation
- Less trapped odour from enclosed, damp storage
How do you clean decorated mugs and prevent physical wear?
Decorated mugs fail first at the surface, not the structure. Prints fade, metallic trim flakes, and matte finishes develop shiny patches when cleaned with harsh detergents or abrasives.
There are three decoration risk types that change cleaning rules:
- Printed designs and decals
- Gold or silver trim
- Matte coatings
How do I clean a mug with printed designs or etched art without fading them?
Printed designs last longer when hand-washed with cool or warm water and mild soap. Dishwasher detergents are designed to clean aggressively, and repeated cycles act like long-term abrasion on prints.
There are three protective practices for prints:
- Hand-wash with mild soap
- Avoid abrasive scrub pads on the printed zone
- Dry gently rather than rubbing hard over the art
Can I put a mug with gold/silver trim in the dishwasher?
A mug with gold or silver trim should not go in the dishwasher because metallic decoration is delicate and degrades quickly under heat and detergent exposure.
There are two safe options:
- Hand-wash only
- Avoid soaking so the trim is not exposed to prolonged chemical contact
How do you care for matte finishes vs gloss finishes?
Matte finishes should be cleaned gently to prevent shiny wear spots, while gloss finishes should be protected from scuffs and streaking. Matte surfaces show oils and abrasion quickly; gloss shows streaks and metal marks.
There are two finish-specific rules:
- Matte: avoid abrasive pads and greasy residue.
- Gloss: avoid metal scuffs and dry with microfiber.
Can I pour boiling water into a ceramic mug safely and how do I avoid thermal shock?
Thermal shock is damage caused by rapid temperature change across the mug body. Avoiding it is mainly about preventing a cold mug from taking a sudden jump to near-boiling temperature.
There are two practical steps that reduce thermal shock risk:
- Pre-warm a cold mug with warm tap water before adding boiling water.
- Avoid extreme cold-to-hot switches, such as a mug straight from a cold room into boiling water.
How do I remove rust spots from a stainless steel mug?
Stainless steel is not stain-proof, and surface rust spots can appear where corrosion starts at scratches, seams, or residue deposits. Mild acids can lift surface rust, followed by thorough rinsing and drying.
There are three controlled steps:
- Treat the spot with a mild acid briefly, then wipe.
- Rinse thoroughly so no acid remains in seams.
- Dry completely to prevent new spotting.
How do dish sponges and kitchen sinks re-contaminate clean mugs, and how do you control cross-contamination?
Clean mugs can be re-contaminated if they touch high-bacteria items like dish sponges, sink basins, or damp dishcloths. In a 2011 household study, NSF found coliform present on more than 75% of dish sponges/rags and 45% of kitchen sinks, showing why “cleaning tools” can be a contamination source if they are not managed.
What parts of the kitchen most often re-contaminate mugs after washing?
The highest-risk contact points are the sponge, the sink surface, and any damp towel used repeatedly without proper washing.
There are three common re-contamination routes:
- Sponge-to-rim contact during final wipe-down
- Setting mugs in a dirty sink after rinsing
- Using a damp, re-used towel to dry interiors
How do you disinfect or replace sponges and brushes so they stay safe to use?
Sponges and brushes should be disinfected with methods that use time, heat, or disinfectant contact. USDA research has tested household sponge treatments that include a dishwasher cycle with a drying cycle and microwaving for 1 minute as disinfection approaches under controlled conditions.
There are three practical control actions:
- Heat disinfect regularly using a proven method suitable for the item
- Replace when odour persists after disinfection
- Store tools dry so they do not sit wet between uses
What is a safe workflow for washing mugs that avoids cross-contamination?
A safe workflow keeps the clean mug from touching the dirty sink and keeps the cleaning tool clean enough to trust.
There are four workflow rules that reduce cross-contamination:
- Wash mugs away from raw-food cleanup (separate time and space).
- Keep the sink clean so rinsed mugs do not sit on contaminated surfaces.
- Air-dry on a rack instead of wiping interiors with a sponge or damp towel.
- Store only when fully dry, especially for lidded mugs.
The clean-mug outcome: stable flavour, safer use, longer service life
A mug stays pleasant to drink from when cleaning removes residue, sanitation is used when it is needed, and storage prevents moisture traps. Labels decide whether a dishwasher is appropriate, material decides which tools and agents are safe, and travel-mug parts decide how much disassembly is required. When the system is consistent, stains slow down, odours stop recurring, and surfaces stay intact instead of becoming more porous and harder to clean over time, ensuring the long-term quality of your mug.